


Learnin' How To ZBrush, Ya'll: Part 3
- Feb 7
- 3 min read
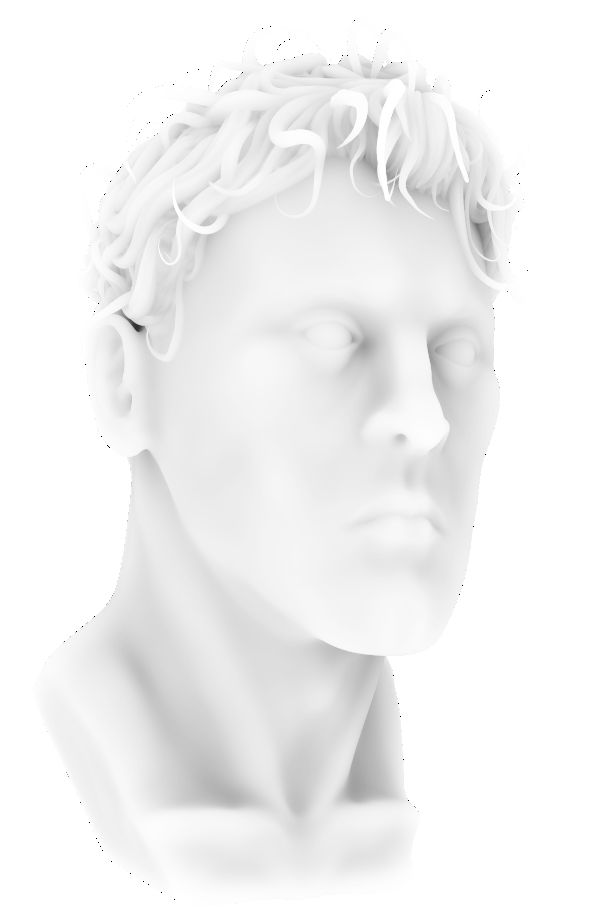
In this episode I polypainted my second ever head sculpt. With my first polypaint job I just added a red under-painting. This time, however, I upped my game a bit and used color zones! Pretty sure I am going to use this technique forever now.

After applying the color zones, my polypainting process was pretty much the same as the head sculpt in part 2.
One difference is I used an eye texture instead of polypainting it straight onto the sphere. I downloaded an image of an eye from Wikimedia Commons, edited it and used ZBrush's projection tools to apply the texture. Projecting textures onto the object was very interesting. I hope I get the chance to explore more creative ways to use those features in the future.

When a friend and colleague of mine saw my first polypainted sculpt he noted that it was a bit flat and suggested I should have more "high frequency" detail. I though that was good advice. This model is similar to my first head sculpt in that there are minimal sculpted surface details so I figured it would be interesting to see what adding the detail to just the paint would look like. I probably could have taken it further but I learned what I need to know.
The hair was done in the same way as the first sculpt, which does not really match the visual direction of the face but I left it. I will get more experience modeling hair when I figure out what broke with the fibermesh stuff on my third head sculpt.

I only budgeted myself for a few months of ZBrush so I want to limit the time I spend outside the program. However, I think it was worth going through the process of saving out maps and compositing the renders.
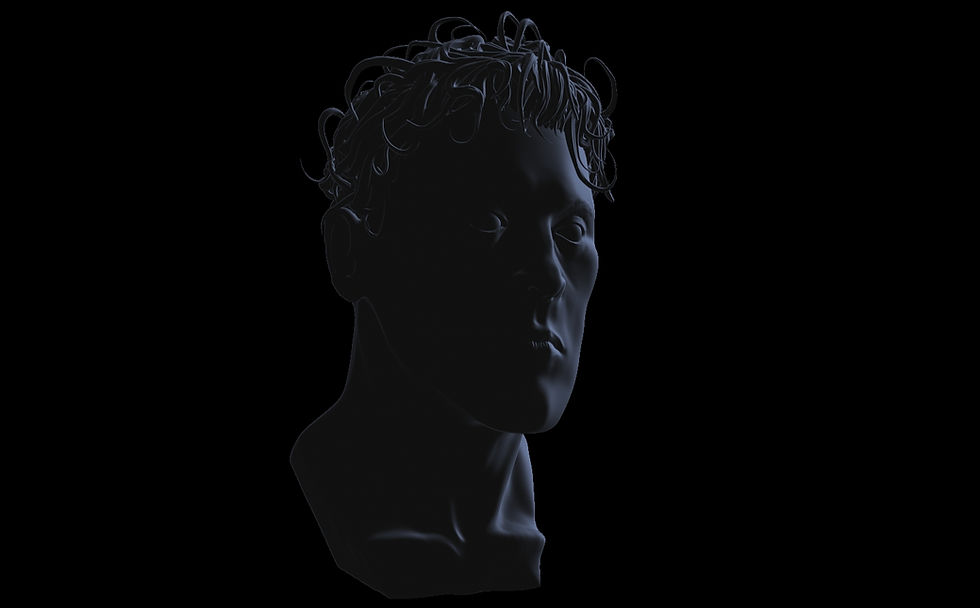
I saved out the base render, an AO map and a Shadow Map. I tried to save a SSS map but ZBrush would not let me. I will need to figure out what is going on with that later.


I re-rendered the sculpt out with some fill light and back light variations. I made blue versions so that I could alter the color to whatever I wanted during the compositing process.

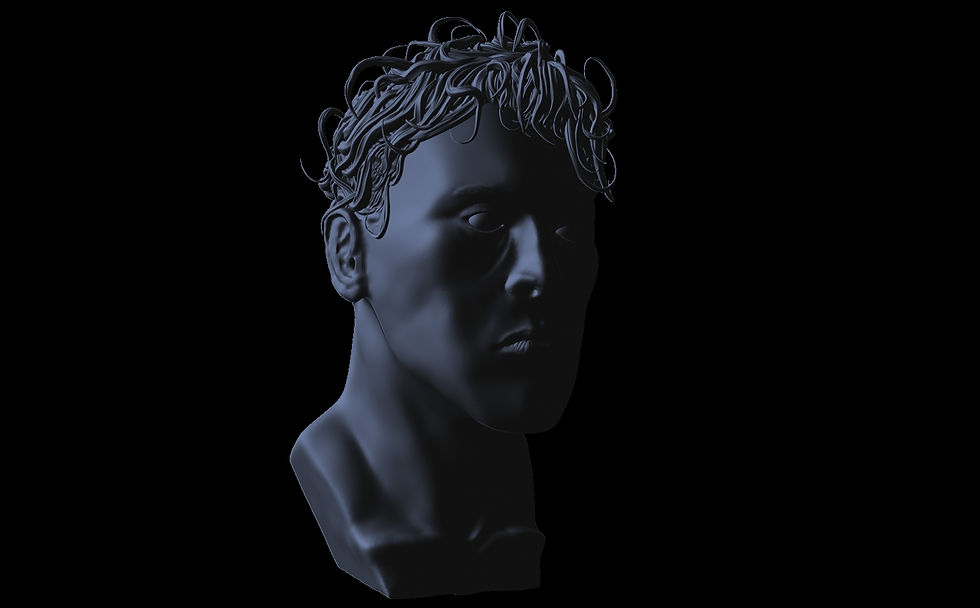
Finally, I made a few renders using different materials so I could play around with blending layers in Photoshop.

Here is the render with the light maps applied. I kept the blue for the back light but changed the hue of the fill light to a warmer yellow.

I rendered out a grayscale version of ZBrush's Basic Material 02 and used a Screen blend to get a little shiny highlights on the skin. I also lightened up the eyes and added a skin texture layer set to Soft Light over the whole thing. The skin texture added a bit more of that high fidelity noise as well as bring out some of the warm color. There is also a Curve and Vibrance layer for some polishing.

Its important to note that the compositing process ( and most of the rest of these exercises ) are based on a Schoolism course by Justin Goby Fields. The recording is slightly out of date but has been a great resource.
There is a lot I don't like about this render. The hair is visually inconsistent. The shadows are too dark, especially under the nose. I need to bring some of that warm light down to the neck. There is aliasing issues. I need to soften the edges and blend them into the background. That nostril still bothers me. Where the eyelashes? Etc... Not going to worry about that for this piece.
Like I said, I want to get back inside ZBrush as soon as possible. However, I threw in a quick background before I left...

Comments